
Backpacking: Gear Checklist, Packing Tips and Trip Inspiration
When planning a multi-day backpacking trip, it is critical to decide what to bring versus what to leave at home. You will need to decide what is more important to you – comfort while hiking during the day versus your comfort at night.
The Backpack
The most crucial piece of gear will be your backpack. Don’t scrimp on the quality as not only will it take a lot of abuse, but you want it to be comfortable. You will be wearing it for hours at a time. Make sure it is sized properly so that you can cinch it on your hips to help carry the load. A ventilated back will help it breathe.
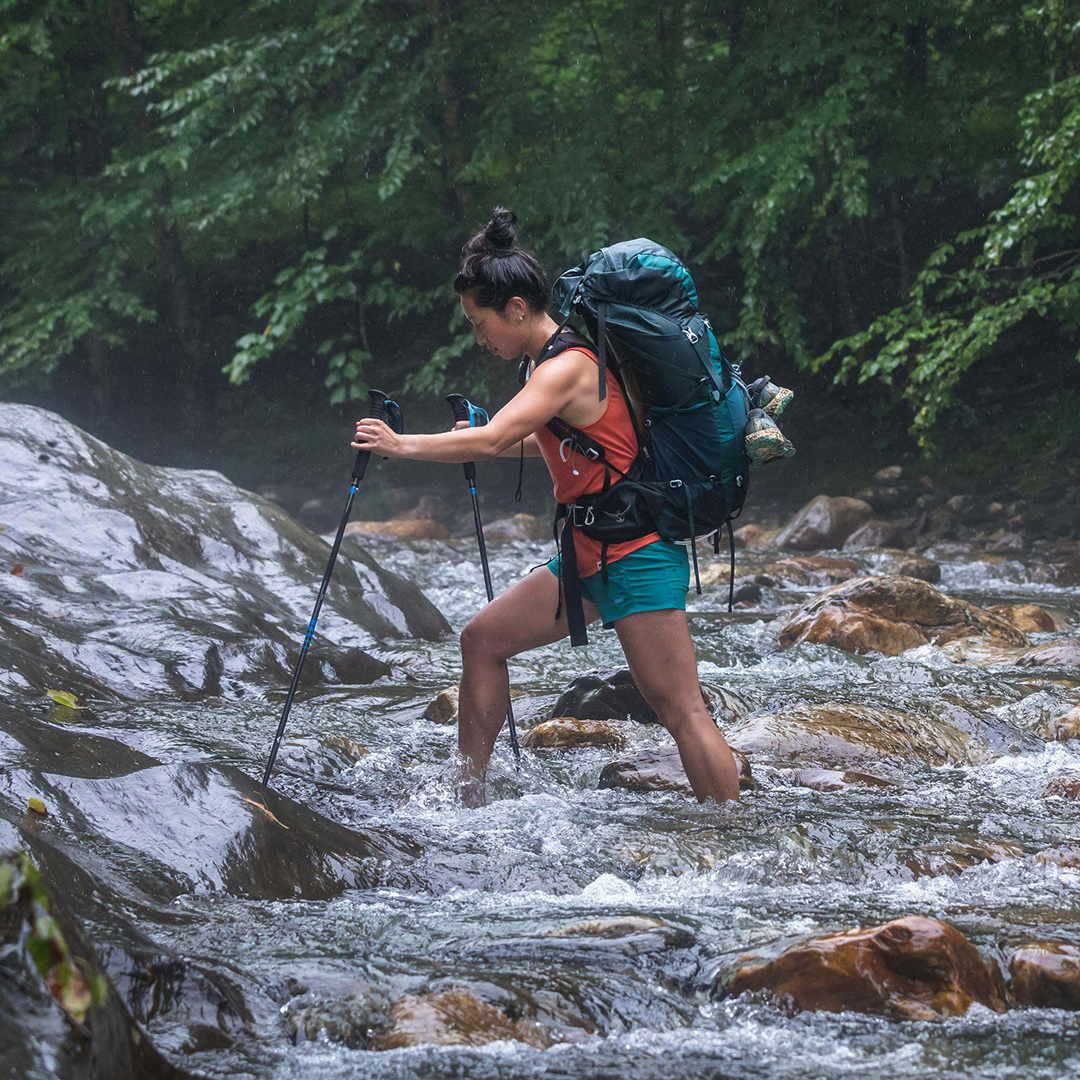
(Photo Credit: Osprey)
Tips on how to fit your backpack:
Add a bit of weight into the pack so you can feel where it pulls.
- Adjust the torso length. Many packs come with an adjustable torso where you can slide the harness up or down to fit your back length.
- Once the pack is comfortably on your back, the first attachment point is the hip belt strap. This needs to be adjusted first as it distributes weight evenly between legs and lower lumbar rather your shoulders or arms.
- Tighten harness straps. Pull downwards so that the webbing on the harness is comfortably tight.
- Adjust load lifters. They should be pulled forward so that the pack runs straight up and down your back. The centre of gravity will allow weight to flow down to the ground.
- Clip and fix sternum strap. Fastening the sternum strap across the chest pulls the harness into the chest to help distribute the weight further. Do not make this too tight as it could restrict your breathing.
Gear Checklist

Sleeping Gear:
Sleeping Bag and stuff sack for a pillow
Sleeping Pad
Tent
Hiking Poles:
No only do they give you balance, but they take the pressure off your knees when trekking downhill. Best to get hiking poles that allow your to adjust sizing for flat, uphill or downhill terrain.
Headlamp:
A headlamp is a must, and even better if it is waterproof. Make sure you have a back up set of batteries in your emergency kit.
Dry Sacks:
Pack a few. You want your clothing, food and other gear to stay nice and dry. They are lightweight and don't take up any space.
EMERGENCY Kit Essentials:
- Foldable Knife or if you can handle the weight a multi-tool that can take on any task.
- Emergency Survival Blanket/Shelter
- Whistle (If you have the Leatherman Signal multi-tool, it comes with a whistle and a ferro rod)
- Well stocked first aid kit with bandages, antiseptic wipes and pain relievers
- Fire Starter
- Duct Tape
- Small Repair Kit
- Bear Spray (Depends on where you are hiking)
- Extra Energy Bars / Trail Mix
Food and Water
Freeze-dried food is your lightest and easiest option as you just add boiling water and can eat right out of the bag, taking away the need for dishware. When meal-planning, be sure to add extra food for an unexpected extra day on the trail.
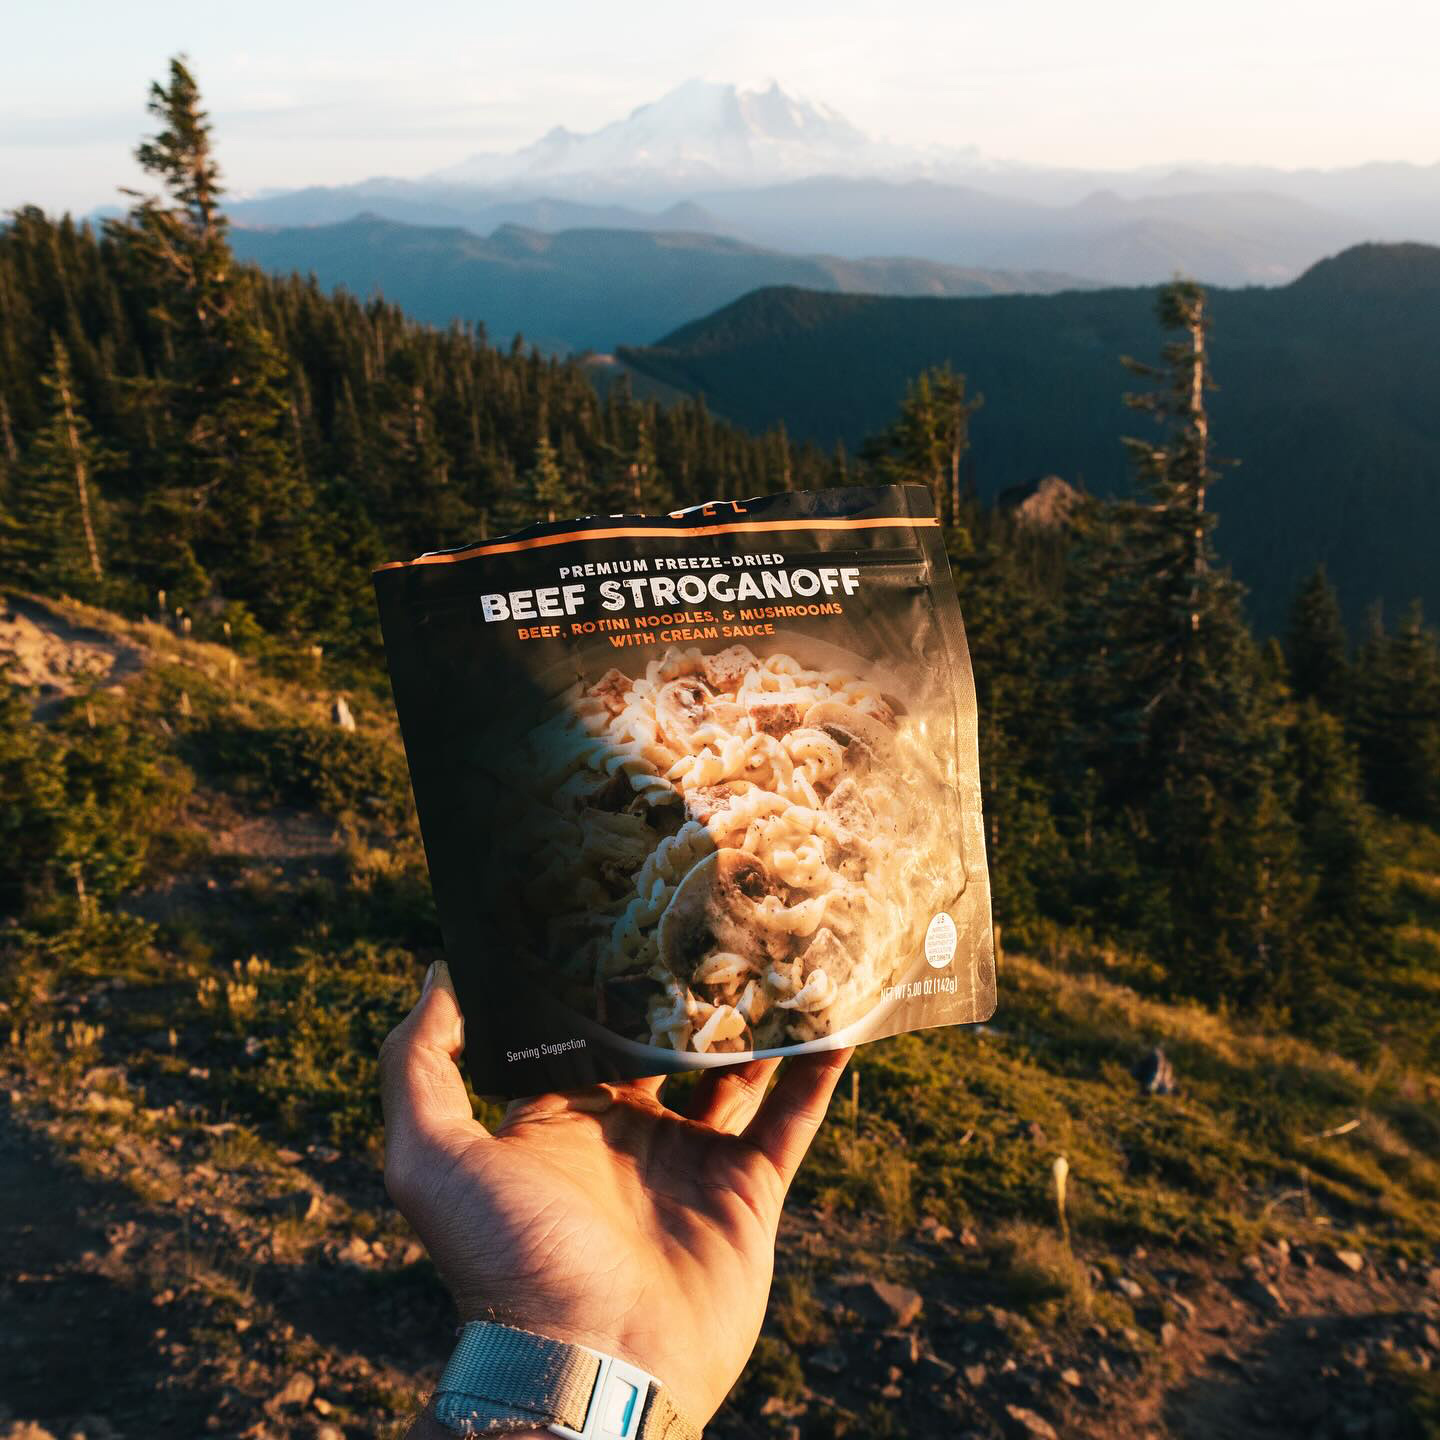
(Photo Credit: Peak Refuel)
Breakfast: Think hot oatmeal and breakfast bars
Lunches and Snacks: Bring high calorie and high protein bars for energy. Pack trail mix, and jerky for snacks along the way.
Dinner: All-in-one meals such as packaged noodles or dehydrated meals are the easiest solution.
Backpacking Cook System and Fuel: A stove like a Jetboil Flash System is quick to boil, so you can get eating those dehydrated meals sooner!
Spork/Dish/Bowl/Cup: On longer trips, leave the dishware at home if you are going with packaged meals.
Small Quick Dry Towel
Biodegradable Soap
Bear Canister or Hang Bag
50ft of Paracord: To hang food from a tree branch. Can also be used multiple ways in your emergency kit.
Nalgene Water Bottle: Doesn't keep you water cold, but it is lightweight and you can see how much water you have left.
Water Filtration System: We suggest one like the Katadyn Be Free as it is lightweight and portable.
Clothing
You can group most of your clothing needs into 4 categories: Base Layers, Hiking, Insulation and Rain Gear.
Base Layers:
Long Sleeve Base Layer Top
Base Layer Bottom (Long Underwear)
Moisture Wicking Underwear and Sports Bra
Hiking Clothes:
Long Sleeve Performance Shirt
Short Sleeve Performance Shirt (Moisture wicking)
Hiking Pants (w/ zip off legs for hot days)
Sun Hat (possibly with cape to protect your neck)
Insulation Layers:
Insulated jacket
Lightweight Fleece or jacket
Gloves
Wool Hat
Rain Gear:
Rain Jacket
Rain Pants
On Foot:
2 Pairs of Merino wool Socks
Compression Sock
Hiking Boots (and should be well broken in before your hike)
Depending on the terrain you may also want to bring gaitors to keep dirt out of boots.
Camp Shoes (Sandals that can do double duty at river crossings)
Other Necessities:
Sun and Bug Protection
Bandana or buff
Sunglasses
Sunscreen
Bug Spray
Sun Hat w/ Cape
Toiletries:
Hand Sanitizer, Toothbrush, Trowel, Menstrual products, Toilet paper/wipes and sealable bag
Medications
Navigation:
Map inside a waterproof sleeve plus a compass
GPS and/or satellite messenger
Trip Itinerary and left with family and friends
Permits (may be needed on some trails)
How to Pack Your Backpack
There is no correct way to pack. Find what works for you.
If you are a first-timer, try breaking down your pack into zones:
- Bottom Zone: Good for bulky gear and items not needed until you stop to camp. Packing soft gear at the bottom creates a bit of shock absorption for your back.
> Items like sleeping bags, pads, nighttime layers, camp shoes - Core Zone: Good for your heavier items. This will help create a stable centre of gravity.
> Heavy gear like food, and cooking stove - Top Zone: Good for bulkier essentials that you might need on the trail
> Essential items could include your insulated or rain jacket, first aid kit, water filter. - Accessory Pockets: Good for essentials that you may need in an emergency or that you will need more often.
> Most packs have multiple pockets to organize your gear such as map, GPS, sunglasses, headlamp, bug spray, water bottles, etc - Loop and Lash-on Points: Good for oversized or long items
> Many packs have tool loops or fasteners for items such as trekking poles, tent poles, large sleeping pads, etc.
The key is to build on a solid base and to be sure the weight is equally distributed and balanced on each side.
Inspiration for Your Next Backpacking Trip:
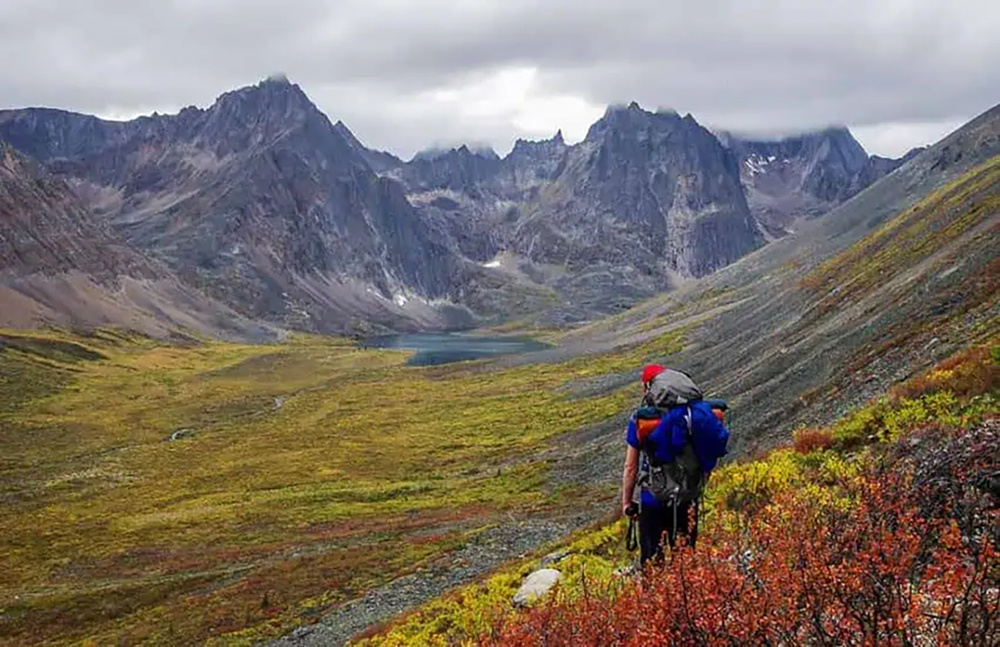
(Photo Credit: Hike Bike Travel)
10 of the most scenic backpacking trips in Canada (Hike Bike Travel)
10 Epic Backpacking trips in the US (Jetboil):
25 Best Backpacking Trips in the World (Wildland Trekking)
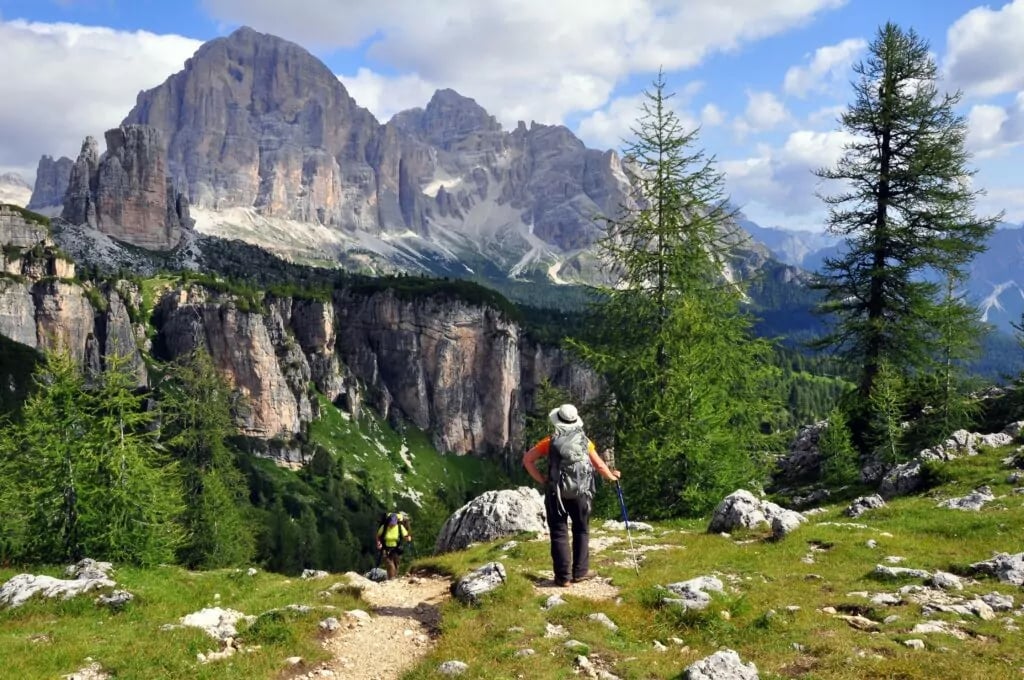
(Photo Credit: Wildland Trekking)
Other Resources:
12 Backpacking tips everyone should know (Jetboil)


